Excel files have a lot of information, like business records and financial reports. They also have passwords and personal data. If someone gets into your Excel file, they can look at the information, change it, or even get rid of it.
So, it is really important to know how to password protect an Excel file. This is something we need to do because we live in a world where everything’s online. If you work in an office or if you have Excel files, putting a password on them is a simple way to keep them safe. Putting a password on your Excel file is an idea because it helps keep your Excel file secure.
Why Password Protect Your Excel Files?
There are many reasons why you should password-protect an Excel file, such as:
- This is done to protect personal information that one would wish to be kept private.
- To prevent an unauthorized person from making edits to your document.
- One can implement this measure to protect business reports from unauthorized changes.
- The owner may want to protect his or her personal contact information from access or distortion.
- So, this will also avert accidental changes.
That way, only those whom you trust can open or make any changes to the file.
How to Password Protect an Excel File on Windows
If you want to secure an Excel file with a password in Microsoft Excel on the Windows operating system, you should proceed through these steps.
- Open your Excel spreadsheet and click on File in the top-left corner.
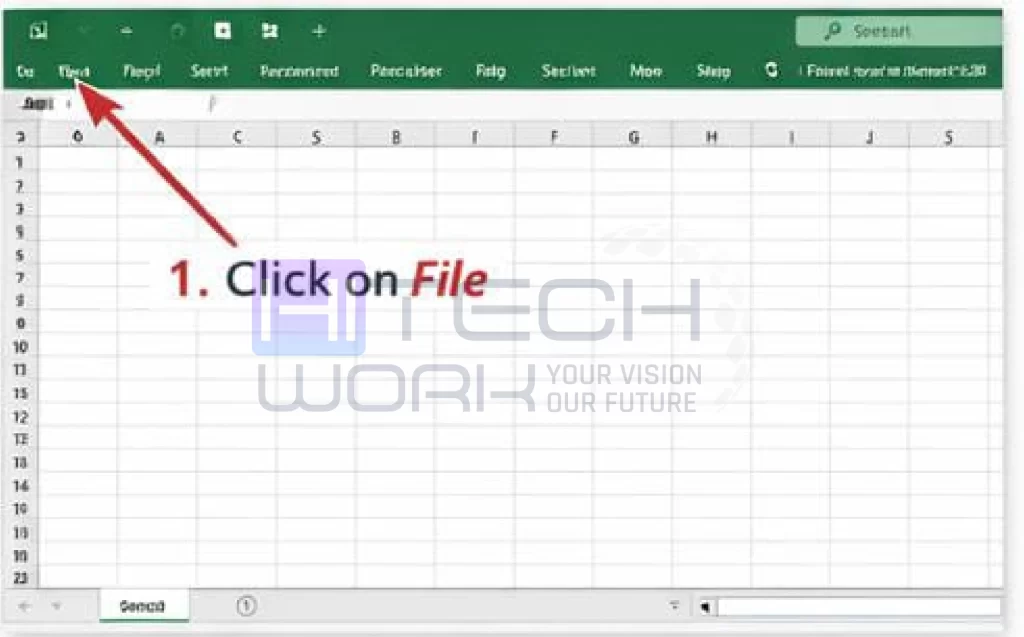
- Select Info

- Click Protect Workbook
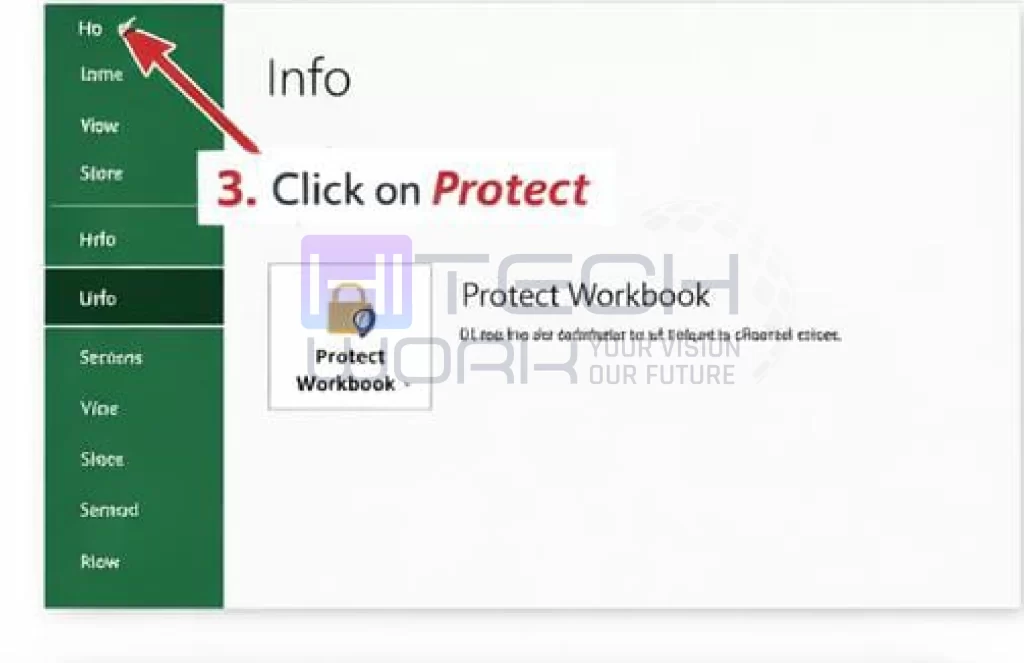
- Choose Encrypt with Password
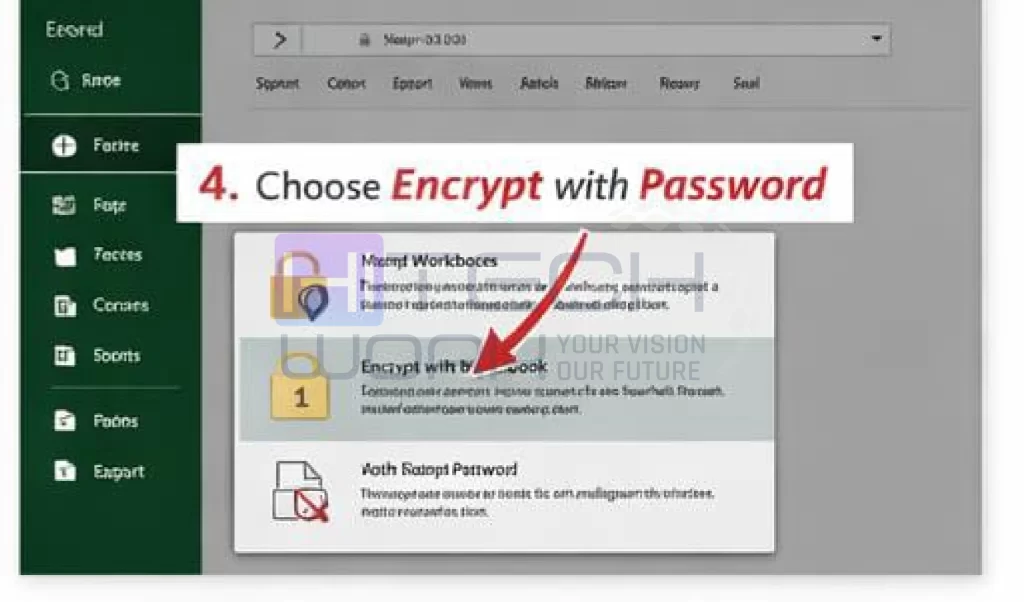
- Enter a strong password
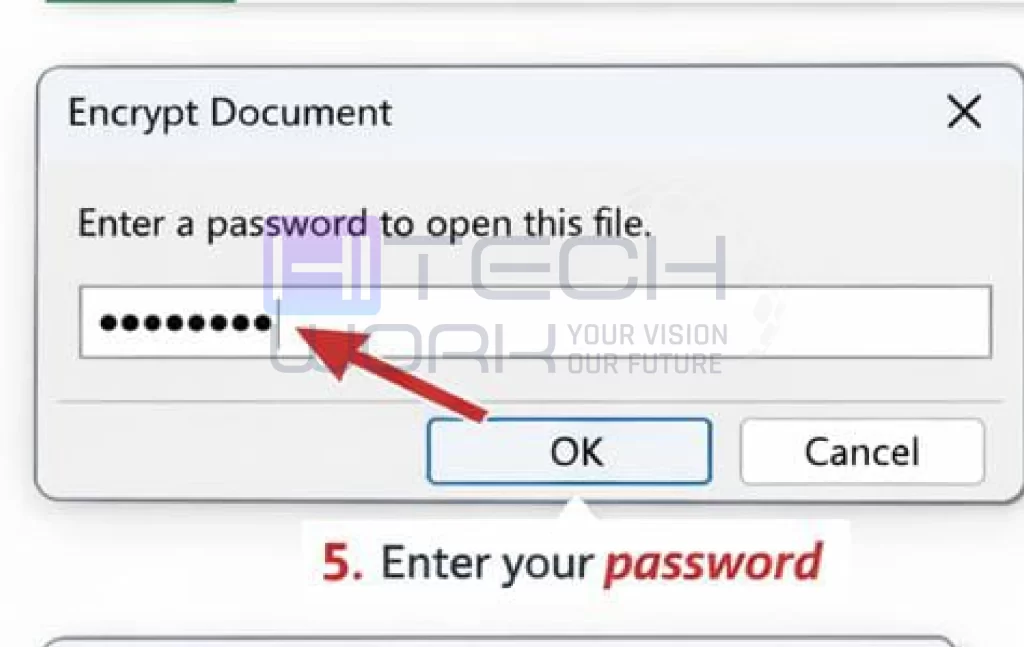
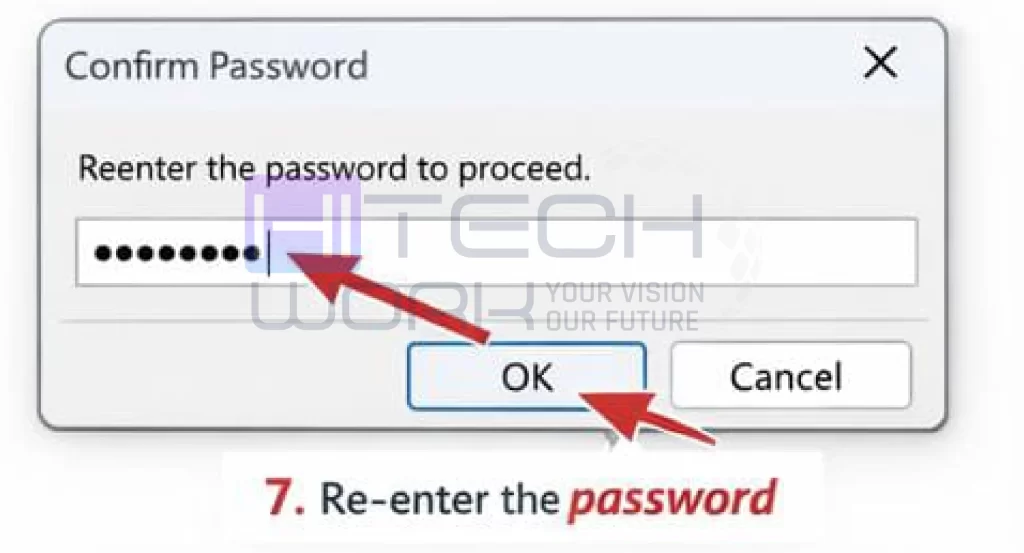
- Re-enter it to confirm
- Save the file

The file requires password protection for all users who attempt to access it. The method provides a simple solution for users to secure their Excel files with passwords on Windows.
How to Password Protect an Excel File on Mac
If you are a Mac user you can also password protect an Excel file with similar steps:
- Users need to start Excel on their Mac.
- The user needs to choose File from the menu bar.
- The user should choose Passwords from the available options.
- The user needs to enter a password that will control access to the file.
- The user should create a second password that will allow others to modify the document.
- The user needs to click OK, after which they should save their work.
The method establishes protection for your spreadsheet, which maintains its security during sharing with other people.
How to Password Protect an Excel Workbook
To protect the entire workbook structure:
- You need to open your file
- You need to go to the Review tab
- You should click on Protect Workbook
- You need to enter your password
- You need to save your changes
Workbook protection prevents others from adding, deleting, or renaming sheets. The password protection feature, along with Excel file password protection, serves as a common choice for many professionals who use this function.
Additional Tips for Password Protection
To make sure your spreadsheet is truly safe:
- Use a strong password with letters, numbers, and symbols
- Don’t use common passwords like “123456.”
- Don’t share your password through insecure messages
- Keep a backup of important files
- Update your passwords regularly
A strong password makes it much harder for someone to bypass when you password-protect an Excel file.
Common Issues and Solutions
The Excel password system does not provide an easy method to recover lost passwords. You should keep your password in a secure location because you need it to protect an Excel file with a password.
File Opens as Read-Only: The system operates under these conditions when you establish a password that permits only modifications. The password settings require you to eliminate all limits that exist in their current state.
Password Not Working: The user needs to verify that Caps Lock remains disabled while entering their password to check its accuracy.
Protection Is Not Strong Enough: The current sheet protection system provides only basic security measures. The most secure method to protect an Excel file requires users to apply password protection together with encryption.
FAQs
Q.1 Can I password-protect an Excel file for free?
Ans: Yes, Microsoft Excel has a built-in feature that allows you to password-protect an Excel file without any extra cost.
Q.2 What is the difference between protecting a sheet and protecting a workbook?
Ans: Protecting a sheet limits editing within that specific sheet, while protecting a workbook secures the entire file structure. For full security, it is better to password-protect an Excel file completely.
Q.3 Can I password-protect an Excel file on a Mac?
Ans: Yes, Excel on Mac also provides an option to add passwords through the File menu, so Mac users can easily secure their spreadsheets.
Q.4 What happens if I forget my Excel password?
Ans: If you forget your password, Excel cannot easily recover it. That’s why you should always store your password safely after you password-protect an Excel file.
Q.5 Is Excel password protection secure enough?
Ans: Yes, Excel uses encryption when you password-protect an Excel file, making it secure for most personal and professional use.
Q.6 Can I remove the password from an Excel file later?
Ans: Yes, you can remove the password anytime by going back to the encryption settings, as long as you remember the current password.
Q.7 Can I protect only certain cells instead of the whole file?
Ans: Yes, Excel allows you to lock specific cells, but for stronger privacy, many users prefer to password-protect an Excel file fully.
Conclusion
People need to protect their Excel files because it helps them safeguard their personal and professional information. The password protection system protects your spreadsheet from unauthorized access when you add a password to your financial reports, business documents, and private information.
The good news is that Microsoft Excel makes it simple to secure files on both Windows and Mac. The steps you need to follow enable you to password-protect your workbook, together with its individual sheets or the entire file.